 Sarah Mills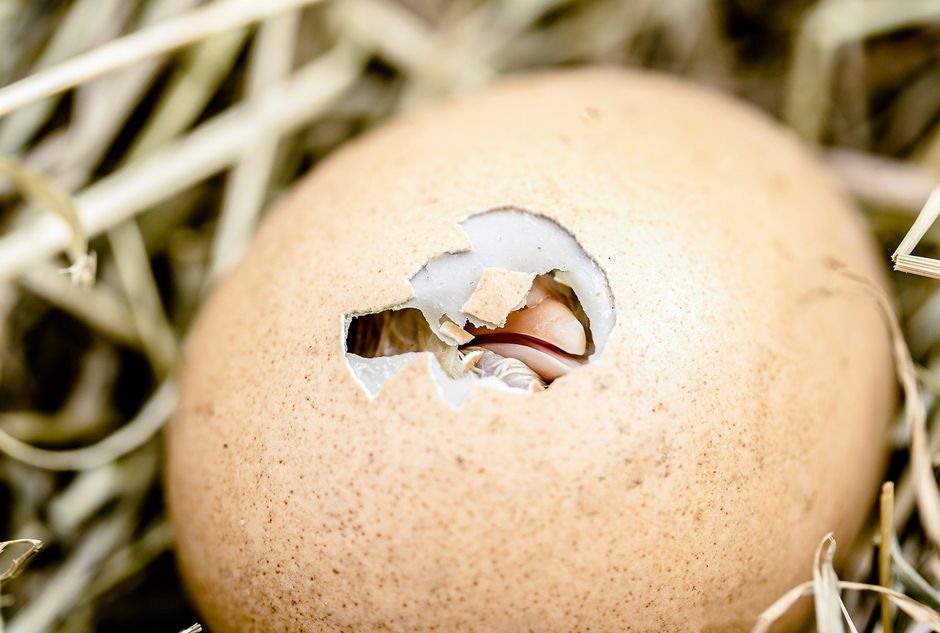
Most incubation guides will tell you to “keep temperature steady” and “turn eggs regularly” and leave it at that. Which is about as useful as a recipe that says “cook until done.” The real failure points are more specific, and they’re almost never in the beginner guides.
I’ve hatched everything from heritage Dominiques to production Leghorns on my kitchen counter, in a converted closet, and once in my garage in January (do not recommend). Here’s what I actually know.
- Target 99.5°F for forced-air incubators; still-air runs hotter at 101-102°F measured at egg top.
- Humidity should be 45-55% for days 1-18, then raised to 65-75% for lockdown (days 18-21).
- Candle eggs at day 7 and day 14; remove clear or rotten eggs before they explode and contaminate the rest.
- Hatch rate for healthy shipped eggs averages 50-70%; fresh eggs from your own flock can hit 85-90%.
- Never open the incubator during lockdown. Not once. Not to "check."
The Equipment That Actually Matters
Budget incubators are a trap I fell into my first year. I bought a $34 styrofoam still-air unit from a farm supply store and got a 38% hatch rate from a dozen backyard-flock eggs that should have performed much better. The problem wasn’t operator error, it was that the thermostat swung 3°F in either direction depending on whether a cloud passed over my window.
For anyone serious about this, a forced-air incubator with a digital thermostat is the floor, not an upgrade. The Brinsea Ovation 28 EX (currently around $280-$310) handles temperature and humidity automatically and has a built-in turner. It’s not cheap, but it’s the incubator that made me stop blaming my eggs for my bad hatch rates. The HovaBator Genesis 1588 runs about $110-$130 and is a reasonable middle option if you’re willing to manage humidity manually.
A separate, calibrated hygrometer is non-negotiable. The built-in sensors on budget units are notoriously inaccurate. The Inkbird IBS-TH2 runs around $14 and is accurate enough to trust.
Still-air incubators aren’t junk, they just require placing eggs with the narrow end slightly down, and you read the temperature at the top of the eggs, not at the unit’s floor sensor, because heat stratifies. That single fact would have saved me a lot of grief in year one.
Temperature and Humidity: The Real Numbers
| Stage | Days | Temp (forced-air) | Temp (still-air, egg top) | Humidity |
|---|---|---|---|---|
| Incubation | 1-18 | 99.5°F | 101-102°F | 45-55% |
| Lockdown | 18-21 | 99.5°F | 101-102°F | 65-75% |
| Hatch | 21 | 98-99°F (lower is fine) | Same | 70-75% |
The humidity numbers are where most beginners overshoot. “More humidity = safer chicks” is the instinct. It’s wrong. Excess humidity prevents the air cell from growing to the right size, which means the chick can’t orient properly to pip. A chick that drowns internally before external pip is almost always a humidity problem, not a temperature problem.
The air cell should occupy roughly the top third of the egg by day 18. You can track this by candling against a dark background. If it’s smaller than that, bump humidity down slightly for the next batch.
Candling: What You’re Actually Looking For
Day 7 is the first candle. What you want to see: a dark center mass (the embryo) with a network of blood vessels radiating out like a spider. What you don’t want: a clear egg (infertile or very early death) or a “blood ring,” which is a circular ring of blood with no visible development, indicating early embryo death.
By day 14, the embryo fills most of the egg. The air cell at the wide end should be visible and growing.
A small detail that experience teaches: rotten eggs glow differently from infertile ones. A rotten egg has a greenish-gray opacity and often a faint smell even before you crack it. Pull those immediately. I lost a full tray of 24 eggs once to a single “weeper” (an egg seeping fluid) that I left in two days too long. The contamination killed 11 viable embryos.
Scenario example: Tray of 18 shipped Buff Orpington eggs, candled at day 7, 5 clears removed, 13 continued. At day 14, 2 more pulled for blood rings. 11 went to lockdown, 9 hatched. That’s a 50% overall rate from shipped eggs, which is honestly about average.
Setting Up for Lockdown
“Lockdown” starts at day 18. You stop turning eggs, raise humidity to 65-75%, and you do not open the incubator until the last chick has been out for at least 6 hours, ideally until the hatch is fully complete.
The reason for keeping it closed isn’t precious membrane sensitivity, it’s humidity. Every time you open the unit, the humidity crashes within seconds. A chick that has internally pipped (broken through into the air cell) can dry out and get shrink-wrapped to the membrane in under a minute of low-humidity exposure. I learned this by opening the lid to “help” a chick that seemed stuck. I caused more harm than the delay would have.
Lay eggs on their sides for lockdown. Flat surface, slightly humid substrate (non-terry cloth shelf liner works well), and let gravity and the chick do the work.
What Happens After Hatch (and What People Forget)
Chicks can stay in the incubator for up to 48 hours after hatch. They’re absorbing the yolk sac, which provides 24-48 hours of nutrition. Moving them too early stresses them; moving them too late once the humidity drops leads to other problems. Watch the down: when it’s fully fluffed and the chick is standing steadily, it’s ready to transfer to the brooder.
Brooder temperature at arrival: 95°F at chick level for the first week, dropping 5°F per week after that. A simple 250W red heat lamp works, though I’ve switched to a Brinsea EcoGlow brooder plate and I’m not going back. Quieter, lower fire risk, and chicks can regulate their own temperature by moving toward or away from it.
Scenario example: 12 Rhode Island Red eggs from my own flock, set in a Brinsea Ovation 28 EX at 99.5°F, 50% humidity. Candled day 7, all 12 fertile. Day 14, one blood ring removed, 11 continued. Lockdown day 18, humidity raised to 70%. First pip at day 20 evening. By day 21 afternoon, 10 had hatched. One pipped but didn’t zip; I waited 24 hours before intervening, and it survived. Final count: 11 of 12, 91.7% hatch rate.
Sources
- Poultry Science Association, Poultry Science journal: Peer-reviewed research on embryo development, incubation temperature tolerances, and humidity effects on hatch rates.
- Penn State Extension, “Hatching Eggs at Home”: Practical land-grant university resource covering candling, troubleshooting, and small-flock incubation.
- Brinsea Products incubation guides: Manufacturer data on forced-air vs. still-air temperature differentials and species-specific incubation tables.
- University of Florida IFAS Extension, “Artificial Incubation of Chicken Eggs”: Extension bulletin covering air cell development, humidity management, and common causes of incubation failure.
- The Chicken Health Handbook, Gail Damerow (Storey Publishing): The reference I actually keep on my shelf. Covers embryo development stages, failure diagnosis, and post-hatch chick care in real depth. (Disclosure: the site may earn a commission on Amazon purchases.)
Photo: Myriams Fotos via Pexels