 Janet Wilson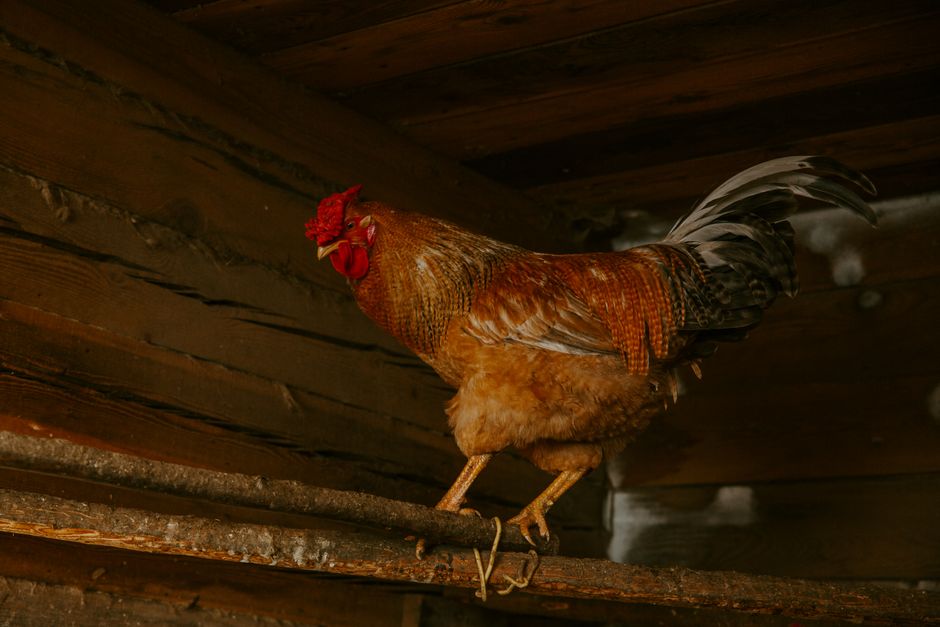
Most first-time builders underestimate the square footage they’ll need by half. You start planning for four hens, think a 4x4 coop sounds reasonable, and a year later you’ve got eight birds crammed into a space that smells like a locker room and looks like poultry chaos. I’ve watched it happen more times than I can count, and I’ve lived it myself with my very first build back in 2012. Getting the size right before you swing a single hammer is the single most important thing you can do, and it’s just the beginning.
Building a chicken coop from scratch is one of the most satisfying projects a backyard keeper can take on. It’s also one of the easiest to get wrong if you’re working from a vague plan or skipping the details that don’t seem important until your birds are sick, wet, or stressed. This guide covers what actually matters, in the order it actually matters.
Plan First: Size, Location, and What Your Birds Actually Need
Let’s talk numbers before we talk lumber.
The standard rule is 4 square feet of interior coop space per standard-sized hen, and 10 square feet per bird in the attached run. Those numbers come from experience, not just theory. Crowded hens peck each other, stress more easily, and get sick faster. If you’re raising bantams, you can get away with 2 square feet inside, but I’d still give them more if you can manage it. Bigger is almost always better with coops.
Where you place the coop matters just as much as how big it is. Pick a spot with good drainage, ideally on a slight slope. Water pooling underneath causes rot and brings rats running. Don’t tuck it into a low corner of your yard just because it’s out of the way. You want morning sun on the east-facing side, afternoon shade if you’re somewhere hot, and decent air circulation. Your birds will thank you in July.
Think about yourself too. A door you have to crouch through gets old fast. An egg collection door that requires you to reach in shoulder-deep is annoying on a cold morning. Build it for yourself as much as for the birds.
Materials: What to Build With and What to Skip
| Component | Material | Notes |
|---|---|---|
| Ground contact (base plates, skids) | Pressure-treated lumber | Durable; keeps rot away from untreated wood |
| Walls and floors | Exterior-grade plywood (1/2" min, 5/8" ideal) | Holds up better than OSB in wet climates |
| Ventilation openings, windows, run fencing | Hardware cloth (19-gauge, 1/2" mesh) | Keeps predators out; chicken wire alone is insufficient |
| Interior framing | Untreated pine or fir | Safer for birds than pressure-treated chemicals |
| Roofing | Metal panels | Lasts decades, sheds water cleanly, ~$40-70 per 6’×10’ section |
| Roosting bars | 2-4" wide, rounded lumber | Set 12-15" apart horizontally, 18-24" off floor |
| Nesting boxes | Wood | 12×12" per box; one per 3-4 hens; mount 12-18" off floor |
You’ve got a few real choices here: rough lumber, dimensional pine, treated lumber, or plywood with framing. Here’s the honest breakdown.
Pressure-treated lumber is durable but contains chemicals you want to keep away from areas where birds will peck or roost. Use it for ground contact (base plates, skids), but stick to untreated pine or fir for interior framing.
Exterior-grade plywood at 1/2 inch minimum, ideally 5/8 inch, is your workhorse for walls and floors. It holds up better than OSB in wet climates. OSB swells and delaminates faster than you’d expect when it gets damp, and chicken coops always get some moisture.
Hardware cloth (19-gauge, 1/2 inch mesh) is non-negotiable for ventilation openings, windows, and any run fencing. Standard chicken wire keeps chickens in but doesn’t keep predators out. Raccoons will rip through chicken wire with their hands. I learned that one the hard way in year two.
For roofing, metal panels are worth the extra cost. They shed water cleanly, last decades, and don’t give mites anywhere to hide the way asphalt shingles can. A 6-foot by 10-foot section of metal roofing runs roughly $40-70 at most hardware stores.
Step-by-Step: How to Actually Build the Coop
Here’s a practical sequence for a basic 4x8 coop that’ll comfortably house 6-8 standard hens. Adjust dimensions as needed for your flock size.
Step 1: Build the floor frame
Use 2x4 lumber to frame a 4x8 rectangle. Add two cross-members spaced evenly for support. If your coop will sit on the ground, use 4x4 skids treated for ground contact underneath. Elevating the coop 8-12 inches off the ground discourages rodents and extends the floor’s life.
Step 2: Lay the floor decking
Cut 3/4-inch exterior plywood to fit the frame. Screw it down every 8 inches along the edges and every 12 inches in the field. This floor takes a beating from heavy bedding, moisture, and the daily scratching and pecking. Don’t cheap out here.
Step 3: Frame the walls
Cut your wall studs from 2x4s, spacing them 16 inches on center. A shed-style roof (single slope, front higher than back) is easiest to build and sheds rain well. Frame your front wall to 6 feet tall and your back wall to 5 feet, giving you a gentle slope. Cut openings for your pop door (about 12x14 inches for standard hens), your human access door, windows, and ventilation gaps near the roofline.
Step 4: Add ventilation
This is where most beginner builds fall short. Ventilation prevents respiratory disease, controls ammonia from droppings, and reduces moisture that causes frostbite in cold climates. You want 1 square foot of ventilation for every 10 square feet of floor space, at minimum. Put vents high on the walls near the roofline so cold drafts don’t blow directly on roosting birds. Cover every opening with 1/2-inch hardware cloth.
Step 5: Sheath the exterior
Attach your plywood sheathing to the wall frames. Apply exterior paint or wood sealant to all surfaces, especially cut edges. Unsealed edges wick moisture and rot fast.
Step 6: Build and attach the roof
Cut 2x4 rafters and attach them to the top plates. Sheath with 1/2-inch plywood, then add roofing felt and your metal panels. Make sure the roof overhangs the walls by at least 6 inches on all sides to keep rain off the walls.
Step 7: Install interior features
Roosting bars should be 2-4 inches wide and rounded, set 12-15 inches apart horizontally and 18-24 inches off the floor. Chickens roost higher than their nesting boxes or they’ll sleep in the boxes and soil them. A board below the roosts to catch droppings (a “poop board”) makes cleanup dramatically easier and I’d never build without one now.
Nesting boxes: one per 3-4 hens. A 12x12-inch box works for most standard breeds. Mount them 12-18 inches off the floor. Line them with nesting box pads to keep eggs clean and reduce breakage.
Step 8: Set up feeders and waterers
Hang feeders and waterers instead of setting them on the floor. Floor-level feed gets scratched through and contaminated fast. A hanging feeder like the Harris Farms Hanging Poultry Feeder keeps waste down. For water, a nipple waterer system stays cleaner than open dishes and is worth every penny.
Predator-Proofing: Don’t Skip This Step
A beautiful coop that a fox can walk into is just an expensive trap. Predator-proofing isn’t optional.
Use hardware cloth, not chicken wire, on every opening. Bury or bend apron fencing at least 12 inches outward from the base of any attached run to stop digging predators. Raccoons, foxes, and opossums all dig, and they’re patient about it.
Every door and latch needs a two-step mechanism. Raccoons can open simple barrel bolt latches. Use a carabiner, a padlock, or a latching mechanism that requires two separate movements to open.
Check every joint and corner on the exterior. A half-inch gap near a vent might seem harmless, but a weasel can squeeze through a hole the size of a quarter. Weasels will kill every bird in your flock in a single night. No exaggeration. I’ve heard too many stories.
Common Mistakes and How to Avoid Them
Sources
| Mistake | Why It Matters | The Fix |
|---|---|---|
| Too little ventilation | Respiratory illness, ammonia buildup, frostbite | At least 1 sq ft of venting per 10 sq ft of floor space |
| Nesting boxes too high | Birds sleep in boxes, soiling eggs | Mount boxes lower than roosting bars |
| No poop board under roosts | Hard daily cleanup | Add a removable board under roosts |
| Chicken wire instead of hardware cloth | Predators get in easily | Upgrade to 19-gauge 1/2-inch hardware cloth everywhere |
| No overhang on the roof | Walls rot faster, run gets muddy | Extend roof at least 6 inches past walls |
| Coop too small for future flock | Overcrowding, pecking, disease | Plan for 1.5x the birds you think you’ll have |
| Untreated wood at ground contact | Rot in 2-3 years | Use pressure-treated for any ground-contact members |
A well-built coop means healthier birds, easier daily chores, and the kind of quiet satisfaction that comes from making something with your own hands that actually works. Take your time with the planning, don’t cut corners on predator-proofing, and build bigger than you think you need. Future you, standing out there at 7am with a coffee and a flock of happy birds, will be glad you did.
Photo: Ivan Babydov via Pexels