 Dr. Tom Henderson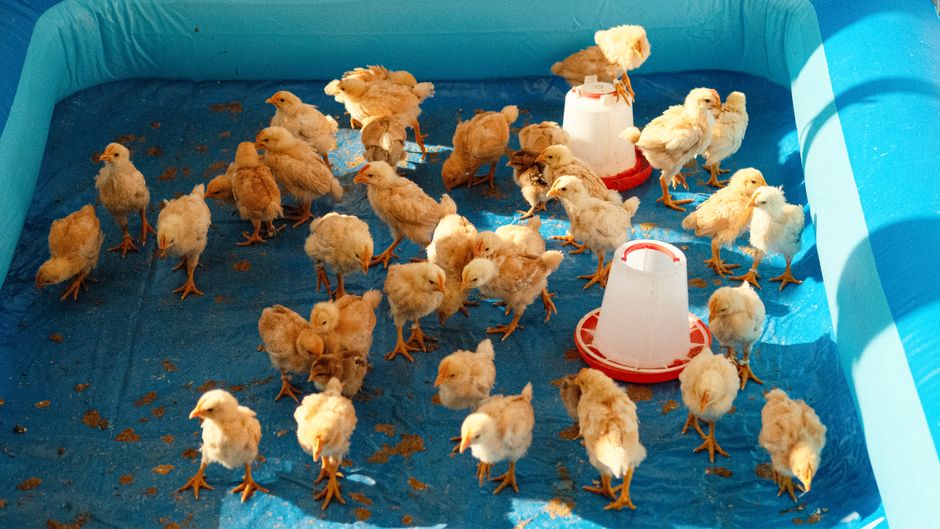
A chicken can go without food for several days and survive. Without water? You’re looking at 24 hours before serious damage begins, and in summer heat, it can be even less than that. Most backyard keepers learn this the hard way once, usually after a waterer gets knocked over or freezes solid overnight. The goal of this article is to make sure you never have to learn it that way.
Use this reference table to size your waterer capacity for both normal conditions and peak summer heat, ensuring your flock never runs dry.
| Flock Size | Normal Daily Need (70°F) | Hot Weather Need (95°F+) | Minimum Waterer Size | Recommended Waterer Size |
|---|---|---|---|---|
| 4 hens | 0.25-0.5 gal | 0.5-1 gal | 1 gallon | 2 gallons |
| 6 hens | 0.4-0.75 gal | 0.75-1.5 gal | 2 gallons | 3 gallons |
| 10 hens | 0.6-1.25 gal | 1.25-2.5 gal | 3 gallons | 5 gallons |
| 15 hens | 0.9-1.9 gal | 1.9-3.75 gal | 5 gallons | 5 gallons (refill 2×/day) or dual waterers |
| 25 hens | 1.5-3.1 gal | 3.1-6.25 gal | 5 gallons | Two 5-gallon waterers or auto-fill system |
| Sizing rule: Recommended capacity = 2× hot-weather daily need, so you have a full-day buffer if you can't refill until evening. | ||||
General information for comparison, confirm specifics for your situation.
How Much Water Do Chickens Actually Need?
The short answer: more than you think.
A standard laying hen drinks somewhere between 0.5 and 1 pint of water per day under normal conditions. Bump the temperature above 90°F and that number can double. A flock of 10 hens in July could easily drain a 2-gallon waterer in a single afternoon.
Egg production makes the demand even worse. A single egg is roughly 74% water. Hens laying daily are essentially manufacturing a high-moisture product every 24 to 26 hours, and they need constant water to do it. I’ve seen small flocks drop egg production by 20 to 30 percent within just 2 to 3 days of inconsistent water access. Production bounces back eventually, but the gap in your collection schedule is real.
Chicks need water immediately after hatch. Their bodies are even more vulnerable to dehydration than adult birds. Dip the chick’s beak directly into shallow water when you first place it in the brooder. Don’t assume it’ll figure it out, especially if you’re using a standard waterer with a deep reservoir.
Several factors swing daily intake up or down:
- Ambient temperature: The biggest variable by far. At 100°F, hens may drink twice what they normally do.
- Diet: Birds eating dry pellets drink more than those getting fermented feed or kitchen scraps.
- Production level: Heavy laying breeds outdrink roosters and non-laying birds.
- Body size: A 9-pound Jersey Giant drinks more than a 4-pound Leghorn.
- Health: Sick birds often stop drinking, which accelerates decline fast.
Plan waterer capacity around peak summer demand, not average spring conditions. If you’ve got 6 hens, a 1-gallon container isn’t going to cut it.
Choosing the Right Waterer for Your Flock
Walk into any feed store and you’ll find plastic bell drinkers, galvanized metal founts, nipple systems, and cup drinkers. Each has real trade-offs worth understanding.
Plastic bell waterers run $8 to $15 for a 1-gallon model and work fine for small flocks. The downside: they crack in cold weather and grow algae fast in summer sun. You’ll need to clean them every 2 to 3 days minimum.
Galvanized metal founts last longer and resist cracking. A 3-gallon version costs around $20 to $30. The catch: if you add apple cider vinegar to the water (a popular gut health practice), the acid will degrade the metal over time. Stick to plastic if ACV is part of your routine.
Nipple drinkers are the cleanest option available. Use horizontal nipples, not vertical ones, because they’re easier for chickens to use and leak less. Birds never stand in or contaminate the water. You can build a 5-gallon bucket nipple system for under $20. The trade-off is setup time and a 2 to 5-day learning period before all your birds figure it out.
Cup drinkers split the difference. They auto-fill and stay cleaner than open containers, but debris can still collect in the cups. Worth considering for larger flocks.
A good quality poultry waterer on Amazon is one of the best early investments you can make. Don’t cheap out. Waterer failures cause more emergencies than almost anything else in a backyard flock.
For placement: put waterers in shade, not direct sun. Algae explodes in sunlight, and chickens refuse warm water more often than cool water. Raise the waterer to the height of a bird’s back. This one change cuts way down on how much bedding and dirt gets kicked into the water.
Keeping Water Clean: The Daily Reality
10 Chicken Coop Mistakes you DON'T want to Make ! · Carolina Coops® on YouTube
Chickens are messy around water. They scratch bedding into it, poop near it, and occasionally stand in it. A dirty waterer isn’t just ugly, it’s a health risk. Bacterial growth in contaminated water causes respiratory infections, digestive problems, and worse.
Get into a rhythm:
- Check water level and cleanliness every morning without fail.
- Dump and refill if the water looks murky, smells off, or has debris visible. Don’t just top it off.
- Scrub inside the container with a stiff brush every 2 to 3 days. A 10% white vinegar solution cuts through biofilm and algae without leaving harmful residue.
- Once a week, do a full rinse with clean water after the vinegar scrub.
- In hot months, swap in a fresh waterer every 24 hours and rotate two or three containers through cleaning cycles.
Raw, unfiltered apple cider vinegar is something many keepers add to water (about 1 tablespoon per gallon). It lowers the pH slightly, which slows bacterial growth and may support digestive health. The evidence is anecdotal in backyard settings, but it’s low-risk and costs almost nothing to try. Again, use plastic containers if you go this route.
Keep the waterer away from the feeder. Chickens drop a lot of dry feed at the feeder, and if the waterer’s right next to it, that feed clumps in the water instantly, creating a bacterial breeding ground.
Winter Water Management: The Biggest Headache
If you live somewhere with actual winters, frozen water is coming for your flock. A waterer that freezes at 3 a.m. means your birds go without until you notice it in the morning, often 6 to 8 hours with no access. Do that repeatedly and you’ll see health problems.
You’ve got a few options:
Heated waterer bases are electric units that sit under metal founts and keep water just above freezing. They run on a thermostat and only kick on when temps drop near 32°F. A solid model costs around $25 to $40. They work best with galvanized metal founts.
Heated waterers are all-in-one units with built-in heating elements. More expensive, usually $50 to $80, but simpler to set up. Look for ones with a built-in thermostat rather than units that run continuously.
The two-waterer rotation is the low-tech answer. Keep two waterers. Bring one inside each night to thaw while the other stays in the coop. Swap them in the morning. This works fine for small flocks and costs nothing extra, but it requires daily commitment.
Whatever route you choose, make sure your coop has power access if you’re going heated. An extension cord works temporarily, but a dedicated outlet in or near the coop is worth installing properly. If you’re planning or upgrading a coop, our free chicken coop plans include options with electrical access built in.
Don’t use open bowls in winter. The surface area is too large, they freeze fast, and chickens tip them constantly.
Water Quality and What’s Actually in Your Tap
Most backyard keepers use whatever comes out of the garden hose and never think about it twice. That’s usually fine. Municipal water is treated and safe. Well water is generally acceptable but worth testing if you notice health problems you can’t explain otherwise.
A few specific concerns:
Chlorine: Municipal water contains chlorine, which kills beneficial bacteria if you’re trying to ferment feed or run a probiotic program. Fill a bucket and let it sit for 24 hours to allow chlorine to off-gas. Or use a basic carbon filter to remove it immediately.
Hard water: High mineral content leaves scaling in metal waterers and can affect taste enough that birds drink less. If your area has very hard water, clean waterers more frequently.
Algae: Green water isn’t just ugly. Blue-green algae (cyanobacteria) can be toxic and has killed livestock. It thrives in warm, sunny conditions. If you see green slime, dump it completely, scrub the container, and move the waterer to shade.
Medications: Some keepers add electrolytes or vitamins to water during heat stress or illness. This is legit and can help. Follow product dosing carefully. Medicated additives sometimes don’t work well with nipple drinkers that use certain metals.
Hydration and Hen Health: What Poor Water Access Looks Like
Sources
You can read about dehydration, but spotting it in the yard is what matters. Here’s what to watch for:
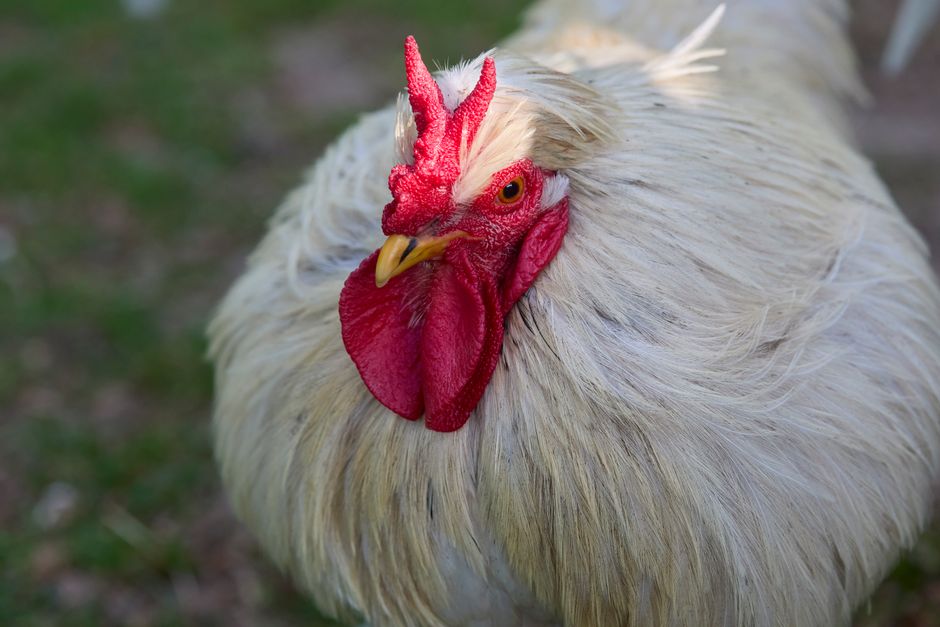
- Pale, dry-looking comb and wattles
- Sunken or dull eyes
- Lethargy, standing in one spot with feathers fluffed
- Dark, concentrated urates (the white part of droppings)
- Sudden drop in egg production
- Hens crowding around the waterer aggressively when it’s refilled, which signals they’ve been waiting
Mild dehydration usually corrects itself once you restore clean water and add electrolytes. Severe cases, where a hen can’t stand or hold her head up, may need oral rehydration by syringe or a vet visit.
Heat stress makes everything worse. A hen panting with wings held out from her body is trying to cool down. She needs water immediately and shade. A waterer with cool fresh water can be the single most effective thing you do in those moments. Understanding your birds’ daily baseline water needs is foundational to flock health. It’s part of the bigger picture in our guide to backyard chickens for beginners.
Don’t miss the connection between water and feed intake. Chickens won’t eat well if they’re dehydrated, and poor feed intake means nutritional gaps happen fast. If you’re already dialed in on what to feed your flock, make sure the water side gets equally locked down.
Water management isn’t glamorous. It’s the single most impactful thing you can get right with your backyard flock. Get the setup sorted once, build the daily check into your routine, and your birds will be healthier, lay better, and handle seasonal stress with far fewer emergencies.
Photo: Muhamad Guruh Budi Hartono via Pexels