 Carol Thompson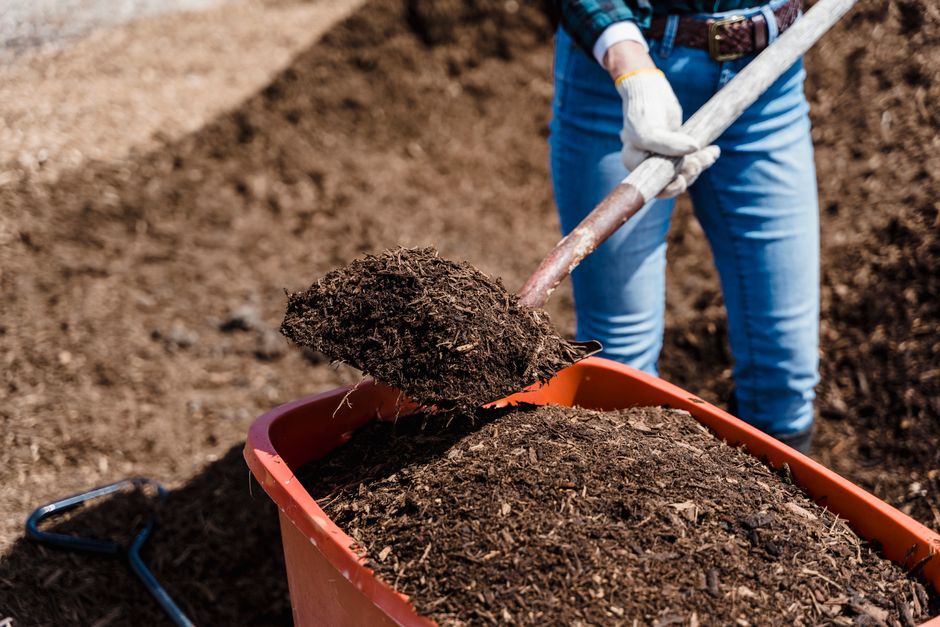
Most backyard chicken keepers treat manure like a waste problem. That’s the wrong way to think about it. After ten years of shoveling coops, I’ll be honest: chicken manure is the single best thing that’s ever happened to my vegetable garden, and I wish someone had told me that on day one instead of year three.
A single laying hen produces roughly 45 to 50 pounds of manure per year. I run 12 hens. That’s close to 600 pounds of fertilizer annually, essentially free, generated by birds I already keep for eggs. Once I started treating that output as an asset instead of a chore, my whole approach to the operation shifted.
But here’s where most people go wrong, and I made this mistake myself the first two seasons: they either throw raw manure straight onto garden beds or let it pile up into a stinking, fly-attracting mess. Both are bad. There’s a middle path, and once you understand the basic chemistry of what’s in this stuff, it becomes pretty obvious.
Choosing the right application method depends on your timeline, bedding type, and what you're growing-here's a practical decision matrix.
| Situation | Recommended Method | Minimum Wait Before Planting Edibles | Key Considerations |
|---|---|---|---|
| Pure manure (wire floor collection), spring planting | Hot compost first (pile must reach 130-150°F) | 90-120 days after composting complete | Turn pile 3-5 times; moisture should feel like wrung sponge |
| Deep litter with pine shavings (C:N ~25:1) | Direct fall application or short compost | 60-90 days overwinter | Already partially composted; till into top 6 inches |
| Straw-based deep litter (C:N ~30:1) | Direct fall application | 90 days overwinter | Straw breaks down slower; apply heavier layer |
| Mid-season side-dressing on established plants | Fully finished compost only (dark, earthy smell) | Apply immediately but keep 3-4 inches from stems | Never use fresh; nitrogen burn risk highest on leafy greens |
| Fruit trees and perennial beds | Aged compost as surface mulch ring | No wait if composted; 120 days if raw | Keep 12 inches from trunk; apply in early spring |
| Root vegetables (carrots, radishes, potatoes) | Previous-season compost only | 120+ days (USDA NOP standard) | Pathogen risk highest for soil-contact crops |
General information for comparison, confirm specifics for your situation.
Why Chicken Manure Is Actually a Big Deal
Chicken manure is hot. Agronomically hot, I mean. It runs about 1.1% nitrogen, 0.8% phosphorus, and 0.5% potassium in fresh form, which doesn’t sound like much until you compare it to steer manure at 0.7-0.3-0.4, or rabbit manure at 2.4-1.4-0.6 (though that’s harder to produce at volume). The nitrogen content is what makes chicken manure the powerhouse of the backyard fertilizer world. It also means it can burn plants badly if you apply it raw, especially near root zones.
What surprised me was how much the bedding material changes everything. If you’re using deep litter with pine shavings or straw, the carbon-to-nitrogen ratio is already starting to balance out by the time you clean the coop. That material composts faster and is more forgiving if applied early in a bed before planting season. Pure manure from a bare wire floor setup is a different animal entirely. Much hotter, needs longer composting.
Then there’s the pathogen question, and I’m not going to gloss over it. Fresh chicken manure can carry Salmonella, E. coli, and Campylobacter. This is real. The USDA’s National Organic Program requires a 120-day interval between applying raw manure and harvest on crops where the edible portion touches soil (lettuce, carrots, radishes), and 90 days for crops where the edible part doesn’t touch the ground. I follow those guidelines. It’s not panic-worthy. It’s just management.
Composting It: The Right Way and the Lazy Way
I’ve done both. The lazy way has real merit if you plan ahead.
The right way: build or buy a dedicated compost system, layer chicken manure with high-carbon materials at roughly a 1:2 ratio (one part manure to two parts dry leaves, straw, or wood shavings), keep the pile moist, turn it every week or two. In 60 to 90 days in warm weather you’ve got finished, dark, crumbly compost that smells like earth instead of ammonia. Temperatures inside an active pile should hit 130 to 150 degrees Fahrenheit to kill pathogens and weed seeds. I use a Reotemp 20-inch compost thermometer (about $30 on Amazon, still working after four years) to know when I’m in the safe zone.
The lazy way is simpler. Designate a corner of your property as the long-term manure dump, add to it all year, and apply it to beds that won’t be planted for at least six months. Fall garden cleanup is perfect for this. I clean my coop thoroughly in October, pile everything on the beds I cleared out, and by the following spring it’s broken down enough to be completely safe and the soil structure is visibly better. Less turning, less precision, still effective.
What I don’t recommend: buying a bag of Espoma Organic Chicken Manure at $18 for 4 pounds when you’re already generating hundreds of pounds for free. That product exists for people without chickens. You’re not one of them.
How to Actually Apply It to Your Garden
Side-dressing established plants works well with well-composted manure, but keep it a few inches from the stem. I lost a row of tomato transplants once by piling compost too close to the base and creating a moisture and heat trap right at the crown. Don’t repeat that mistake.
For raised beds, I work in two to three inches of composted chicken manure litter in the fall and let it integrate over winter. By spring, the beds are noticeably darker and the earthworm activity is something else. I went from one or two worms per shovelful to fifteen or twenty in those beds. Not an exaggeration.
Liquid fertilizer made from chicken manure works well as a foliar feed or soil drench. Steep about one part finished compost in five to ten parts water in a bucket for a few days, strain out the solids, and apply the “tea” around plants. I do this mid-season when I want to push leafy growth. The research on compost tea is mixed as to whether it adds meaningful microbial diversity, but as a mild liquid feed it’s genuinely useful and costs nothing.
Don’t put fresh manure on anything you’re actively eating.
The Deep Litter Method and Its Fertilizer Implications
Sources
- Espoma Organic Chicken Manure
- Greta Hoffman
- on compost tea is mixed as to whether it adds meaningful microbial diversity
If you’re not using deep litter in your coop, you might want to reconsider, at least partially because of what it does for your end product. Instead of cleaning the coop weekly, you add fresh bedding on top of old and let microbial activity in the litter break down the manure in place. By the time you do a full coop clean once or twice a year, what comes out is already partly composted, much lower in ammonia, and easier to handle.
I run 6 to 8 inches of pine shavings in my main coop and add a fresh layer every few weeks. The litter I pull out in spring barely smells and goes straight onto the garden beds or into a secondary compost pile to finish. It’s a different material than fresh wet manure, more manageable in every way.
One thing nobody talks about: the deep litter method doesn’t work for every climate or every coop design. In the Pacific Northwest with a poorly ventilated coop, moisture levels in deep litter can get out of hand fast and you’ll end up with an ammonia problem worse than if you’d been cleaning weekly. Know your setup before you commit to it.
Six hundred pounds of free fertilizer a year. If nothing else, let that number change how you think about coop cleaning day.
Photo: Greta Hoffman via Pexels