 Dr. Tom Henderson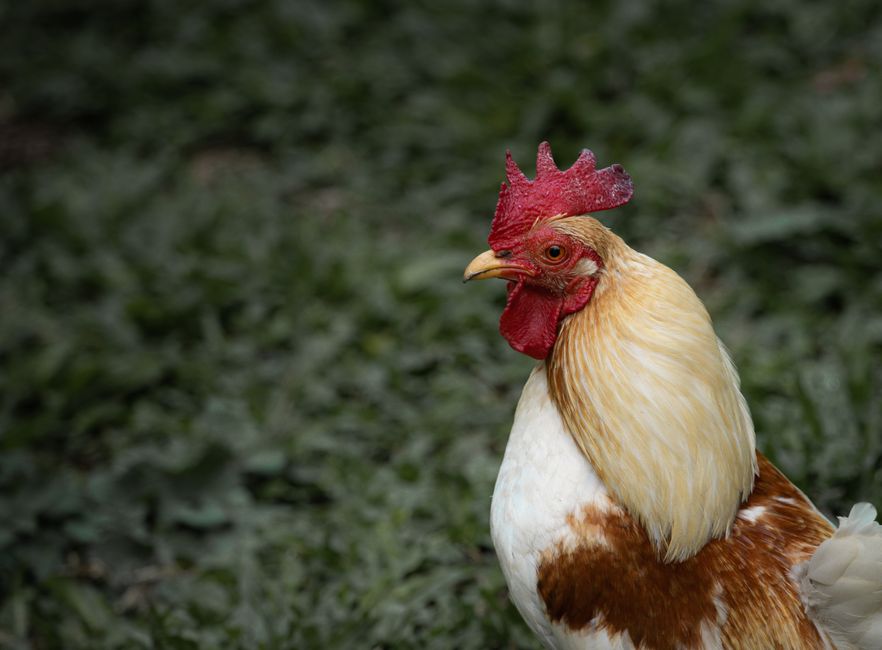
It’s July, 94 degrees, and you open your coop door to find your hens panting with wings held out from their bodies. Or it’s February, below freezing, and the walls are dripping with condensation. The litter smells sharp with ammonia even though you cleaned it three days ago. Both situations point to one thing: your coop can’t breathe.
Inadequate ventilation is the most misunderstood part of coop design, and in 12 years of keeping chickens, I’ve watched it cause more preventable illness and death in backyard flocks than almost anything else.
Why Ventilation Matters More Than You Think
New chicken keepers obsess over predator-proofing, feed quality, and coop size. Ventilation gets treated as an afterthought, filed away somewhere between “nice to have” and “probably not that important.”
But here’s what actually happens: chickens produce a staggering amount of moisture and ammonia just by breathing and pooping. A single chicken exhales roughly a pint of water vapor every 24 hours. Six or eight birds locked in a small coop overnight? You’ve got seriously humid, toxic air building up while they sleep.
Ammonia is the sneaky one. At 10 parts per million, it irritates a chicken’s respiratory tract. At 25 ppm, you’ll smell it yourself walking in. Chronic exposure damages the cilia in a bird’s airways, making them vulnerable to Mycoplasma, infectious bronchitis, and aspergillosis. These aren’t minor infections. They can wipe out a flock or leave birds as permanent carriers.
Heat stress is just as brutal. Chickens don’t sweat. They regulate body temperature by panting and holding their wings away from their body to release heat. When the air in the coop is already hot and humid, that system fails completely. Heat stress depresses egg production, causes weight loss, and can be fatal, especially in heavier breeds like Brahmas or Cochins.
Good ventilation removes moisture, dilutes ammonia, and moves heat out. Everything else in your coop management gets easier when you get this right.
The Two Types of Ventilation You Need
Start here: there’s a difference between ventilation and drafts.
Passive ventilation relies on natural air movement through fixed openings. Hot, stale air rises and exits through high vents; cooler, fresh air enters lower down. This is your baseline, always-on system. It works even when there’s no wind because warm air naturally wants to move upward.
Active or adjustable ventilation includes windows, doors, pop doors, and vents with covers that you can open wide in summer and partially close in winter. This gives you control depending on weather.
You need both. Here’s how to place them:
- Vents near the roofline (within 12 inches of the peak or eave) should be open year-round. These are your exhaust points where warm, moist, ammonia-laden air escapes.
- Openings lower on the walls serve as intake points in warm weather. In winter, you can close or reduce these to prevent cold air from hitting roosting birds directly.
The critical detail: above the roost line. Your birds sleep at the highest point in the coop. A cold draft hitting them at roost height in January is a problem. But a vent 18 inches above their heads, moving air across the ceiling and out? That’s exactly what you want.
How Much Ventilation Does Your Coop Actually Need?
| Coop Size | Minimum Ventilation (1:10 rule) | Recommended (Hot/Humid Climate) |
|---|---|---|
| 4x4 (16 sq ft) | 1.6 sq ft | 4 sq ft |
| 4x8 (32 sq ft) | 3.2 sq ft | 8 sq ft |
| 6x8 (48 sq ft) | 4.8 sq ft | 12 sq ft |
| 8x10 (80 sq ft) | 8 sq ft | 20 sq ft |
| 10x12 (120 sq ft) | 12 sq ft | 30 sq ft |
The general rule is 1 square foot of ventilation per 10 square feet of floor space. It’s a starting point.
In practice, you need more than that in most climates. Pat Foreman, author of City Chicks, recommends closer to 1 square foot per 4 square feet of floor space for humid regions. In hot, humid climates like the Southeast, some coops do best with nearly the entire upper wall open in summer, covered only with hardware cloth.
Here’s a quick comparison:
| Coop Size | Minimum Ventilation (1:10 rule) | Recommended (Hot/Humid Climate) |
|---|---|---|
| 4x4 (16 sq ft) | 1.6 sq ft | 4 sq ft |
| 4x8 (32 sq ft) | 3.2 sq ft | 8 sq ft |
| 6x8 (48 sq ft) | 4.8 sq ft | 12 sq ft |
| 8x10 (80 sq ft) | 8 sq ft | 20 sq ft |
| 10x12 (120 sq ft) | 12 sq ft | 30 sq ft |
A 4x4 coop needing 4 square feet of ventilation could get there with two 1x2-foot vents near the roofline on opposite walls. Place vents on opposite sides of the coop. Cross-ventilation is far more effective than vents on only one wall.
Seasonal Adjustments: Winter Is Not the Enemy
Here’s the mindset shift that changes everything: you’re not trying to heat your coop in winter. Chickens are remarkably cold-hardy. A healthy, dry flock with good body condition can handle temperatures well below freezing as long as they’re dry and out of direct wind.
The danger isn’t cold. It’s wet cold.
Frostbite on combs and wattles is almost always caused by excess moisture in the coop, not temperature alone. When humid air hits a bird’s extremities on a freezing night, you get frostbite. Reduce the moisture, and frostbite risk drops dramatically, even without supplemental heat.
In winter, balance moisture removal with cold protection:
- Keep upper vents open all winter. Even at 10 degrees outside, those roofline vents stay cracked. Moisture has to escape somewhere.
- Close lower vents and windows on the windward side. You don’t want a north wind blasting through, but don’t seal it up tight either.
- Check for condensation every morning. Dripping walls or foggy interior means you need more ventilation, not less, even in cold weather.
- Use deep litter. A properly managed deep litter system generates heat through decomposition and absorbs moisture. Pine shavings work well as a base layer.
I’ve had people tell me they sealed their coop tight to “keep the girls warm” and ended up with respiratory illness by February. The coop smelled fine from outside. Inside, the ammonia was toxic.
DIY Ventilation Solutions That Actually Work
You don’t need a custom-built coop to get this right. Some of the best-ventilated coops I’ve seen were built from repurposed materials.
For converted sheds: Cut vents near the roofline on both front and back walls. Cover with 1/2-inch hardware cloth, not window screen (it clogs with dust). Add a wooden flap or sliding board on the inside so you can reduce the opening in winter. Hardware cloth keeps predators out while allowing full airflow.
For prefab coops: Most prefab coops from big box stores are dramatically under-ventilated. The “windows” are decorative. A common fix is to add a vent board along the top of the back wall or under the eave overhang. A router, jigsaw, and an afternoon can transform a stuffy prefab into something livable.
Ridge vents: If you’re building from scratch, a continuous ridge vent running the length of the roof is one of the most effective passive ventilation solutions. It lets warm air escape along the entire peak. Combined with soffit vents or lower wall vents for intake, this creates excellent year-round airflow with no moving parts.
Gable vents: These triangular vents at the peak of each gable are inexpensive, easy to install, and available at any home improvement store. A pair of 8x16-inch gable vents on a 6x8 coop gives you 256 square inches (about 1.8 square feet) from those two vents alone.
Harvey Ussery’s book is the most practical reference I’ve found for anyone building or renovating. He covers ventilation, deep litter, and whole-system coop design better than anything else out there.
How to Tell If Your Ventilation Is Working
Sources
Your nose and eyes are your best tools. You don’t need fancy equipment.
Ammonia test: Walk into your coop first thing in the morning before you’ve cleaned it or opened it up. Crouch down to roost height and breathe in. If your eyes water or you smell ammonia clearly, your birds have been breathing that all night. Fix it today.
Condensation check: Look at the walls, windows, and ceiling on a cold morning. Dripping walls or frosted interior surfaces mean humidity is out of control.
Observe your birds: Panting, lethargy, or drooping wings in warm weather signal heat stress. Respiratory sounds like rattling, gurgling, or sneezing can indicate ammonia irritation or infection, especially if multiple birds show symptoms.
The litter test: Good litter should feel dry and crumbly, not damp and compacted. If it’s staying wet even with regular stirring, moisture in the air is likely the problem.
One tool I do recommend: an inexpensive digital hygrometer. Stick one inside the coop. Relative humidity above 70-75% is too high and a sign your ventilation needs work. They run $10-15 and give you real numbers instead of guesswork.
Getting ventilation right doesn’t feel urgent until suddenly it is. Healthy birds in a well-ventilated coop just quietly go about their business. You won’t necessarily notice how much better things are until you fix a problem you didn’t know you had. Take an honest look at your setup this week, check for ammonia and condensation, and make the adjustments your flock needs. It’s one of the highest-return investments you can make in their health.
Photo: Urban Roots via Pexels