 Mike Carter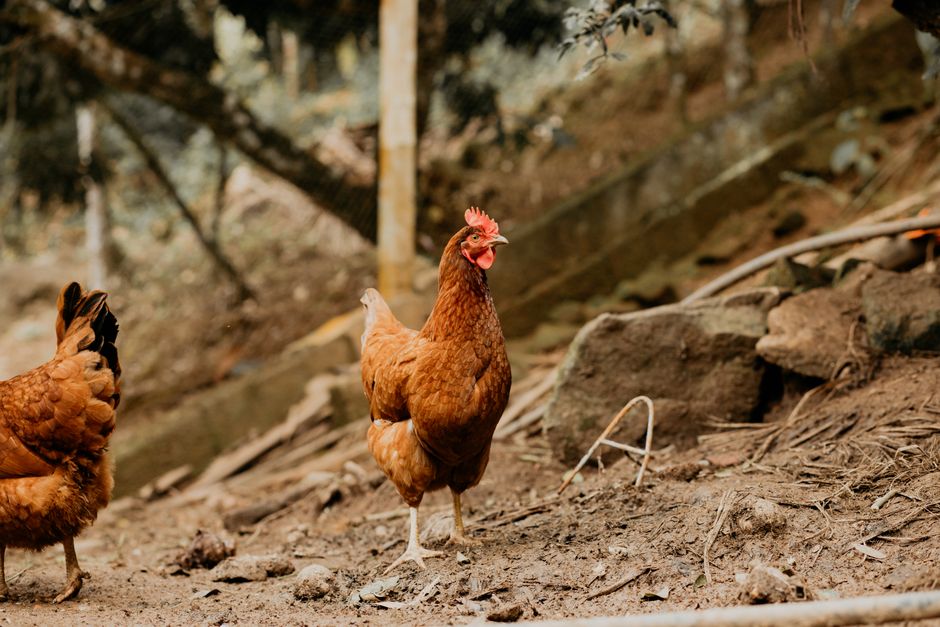
Every spring I watch new chicken keepers do the same thing: they shovel the coop out, dump a pile of wet, ammonia-reeking shavings somewhere behind the garage, and figure they’ll deal with it later. Then “later” becomes August, the pile is still matted and sour, and they’re wondering why their tomatoes are dying after they spread it on the garden beds. Raw chicken manure will burn your plants to the roots. I’ve seen it happen with a single wheelbarrow load on an otherwise healthy raised bed. The good news? Turning that waste into finished compost isn’t complicated. It just requires understanding a few things that nobody bothers to explain upfront.
Chicken manure is legitimately one of the best organic fertilizers available, and I don’t say that just because I keep chickens. Fresh chicken manure tests at about 1.1% nitrogen, 0.8% phosphate, and 0.5% potassium, which beats most other livestock manures. That high nitrogen is exactly what makes it burn plants when it’s raw and exactly what makes it so valuable once it’s properly composted. Done right, you’re turning a waste problem into something garden centers sell in bags for $12 each.
Hot Composting vs. Cold Composting: Pick One, Then Commit
| Method | Timeline | Heat Range | Effort Level | Best For |
|---|---|---|---|---|
| Cold Composting | 6-12 months | Ambient | Minimal | Small flocks, low maintenance |
| Hot Composting | 6-8 weeks | 130-160°F | Active (turning every 5-7 days) | Large flocks, faster results, pathogen/weed seed elimination |
There are two realistic approaches for backyard keepers. Cold composting is passive: you pile the stuff up, add some brown material, and wait anywhere from six months to a year for it to break down on its own. It works. It’s just slow, and if you have a large flock (say, eight or more heavy breeds), the pile keeps growing faster than it breaks down.
Hot composting is faster and, in my opinion, worth the extra effort for anyone serious about their garden. A properly managed hot pile will hit 130 to 160 degrees Fahrenheit in the core, which is the range that kills weed seeds, pathogens, and fly larvae. Salmonella does live in chicken feces, but it gets killed at sustained temperatures above 130°F. That matters if you’re spreading this on vegetable beds.
The tradeoff? Active management. You’re turning the pile every few days to every couple of weeks, monitoring moisture, adding materials as you go. I use a compost thermometer (a Reotemp 20" model runs about $35 on Amazon) so I actually know what’s happening inside the pile rather than guessing.
Getting the Carbon-to-Nitrogen Ratio Right
This is where most people go wrong. Fresh chicken manure is rich nitrogen, but nitrogen alone doesn’t compost well. You need carbon materials to balance it out. The standard is roughly 25 to 30 parts carbon to 1 part nitrogen by weight. In practical backyard terms, that means for every bucket of manure-soaked coop bedding, you’re adding two to three buckets of carbon material.
The best carbon sources are the ones you already have: dry straw, cardboard torn into pieces (skip the glossy stuff), dry leaves from fall, wood shavings. Actually, this is one reason I switched from sand as coop bedding years ago. Pine shavings go straight from coop floor to compost pile without any sorting.
If you use the deep litter method in your coop, you’re already doing a low-grade version of composting in place. The coop floor itself can reach mild composting temperatures in winter. When you finally clean it out in spring, that material is partially broken down already, and it’ll finish faster in an outdoor pile than fresh manure would.
Building the Pile and Managing It Through Summer
Size matters more than people think. A pile smaller than 3 feet by 3 feet by 3 feet won’t hold enough heat to compost efficiently. I run two bins made from four wooden pallets each, wired at the corners, lined with hardware cloth on the inside to discourage rats. (Rats will absolutely colonize a compost pile. Hardware cloth on the bottom too if yours are determined.)
Start with a 4-inch layer of browns on the bottom. Add 2 to 3 inches of coop cleanings. Another layer of browns. If you have kitchen scraps, bury them in the middle, not on top. Wet the pile if your bedding materials are dry. The whole thing should feel like a wrung-out sponge, moist but not dripping.
Turn it with a pitchfork every five to seven days if you’re hot composting. Move material from the outer edges into the center where temperatures are highest. A pile that’s too dry won’t heat up. Add water. A pile that smells like ammonia has too much nitrogen and needs more carbon. A pile that smells like rotten eggs has gone anaerobic and needs turning immediately.
Under decent summer conditions with regular turning, you can have finished compost in six to eight weeks. Finished compost smells like earth, not ammonia, and you can’t identify individual ingredients anymore. I usually let a finished pile cure for two more weeks before spreading it on vegetable beds, just to be sure.
How Much Manure Are You Actually Working With?
A single laying hen produces roughly 45 to 65 pounds of manure per year. A flock of six hens is producing somewhere between 270 and 390 pounds of raw manure annually, plus your bedding material on top of that. Twelve birds? Over 500 pounds a year. That’s not a minor inconvenience you can toss in a corner.
This scale question is the one most new keepers aren’t prepared for. If your garden can absorb it, great. If not, cured chicken compost is one of the easiest things to give away or sell at cost. I’ve given bags of it to neighbors who have asked me to never stop keeping chickens. Alternatively, a deep litter coop system can significantly slow how much material you’re moving out, since the bedding breaks down in place over months rather than weeks.
The Waiting Period Before Application
Sources
Finished, cured compost can generally go on garden beds any time. The USDA National Organic Program guidelines call for a 90-day minimum between application of composted manure and harvest on crops where the edible part doesn’t contact the soil (corn, tomatoes, peppers), and 120 days for root crops or anything with soil contact. Those timelines assume the compost reached proper temperatures. If you’ve done a proper hot compost, you’re covered. If you cold composted, be more conservative and apply in fall for spring planting.
Raw or partially composted manure on vegetable beds is the mistake I’d most want readers to avoid. The burn risk is real. The pathogen risk is real. A bad experience in year one turns people off from a practice that would otherwise serve them for decades.
Photo: Bruna Fossile via Pexels